Image stitching: 35mm in a medium format camera
Introduction
In a previous blog post I wrote about the workings of image stitching - the process for taking multiple overlapping photos and “stitching” them together into a single image. In that article, I used 35mm film shot on a traditional 35mm SLR (my beloved Nikon F3).
Recently I’ve picked up a Mamiya 645 Super and having been shooting primarily in medium format. I absolutely love the pop that medium format gives to my images, not to mention I’m also a big fan of the 6:4.5 aspect ratio.
Over the last weekend I shot my first roll of 35mm in my Mamiya 645 (which is a medium format camera). I achieved this by using a simple adapter that allows a 35mm roll to fit into a 120 spool holder (you can get the converter on Amazon for just a few bucks). While there are converters that allow you to feed the film into another 35mm canister - and hence can unload it in the daylight - I just rolled mine onto a normal 120 takeup spool and unloaded the film in a changing bag. The only real disadvantage of this is that it means you either have to take a changing bag with you or have your roll of 35mm be the last roll you shoot before going home - I chose the later.
Scanning
I was first introduced to the idea of shooting 35mm on reddit - there’s a whole subreddit dedicated to the practice. In most cases photographers seem to be scanning their 35mm negatives using a flatbed scanner. While I have a flatbed (Epson V600) for scanning medium format film, I find that it providers unsatisfactory scans for 35mm film - the negative is simply too small to be scanned with a high enough resolution. In most cases, however, using a flatbed is warranted since it’s the only way to scan around the typical exposure zone.
After developing my film (more notes on that later), I started off scanning using my V600. I took ~10 photos and this was my favorite out of the bunch.
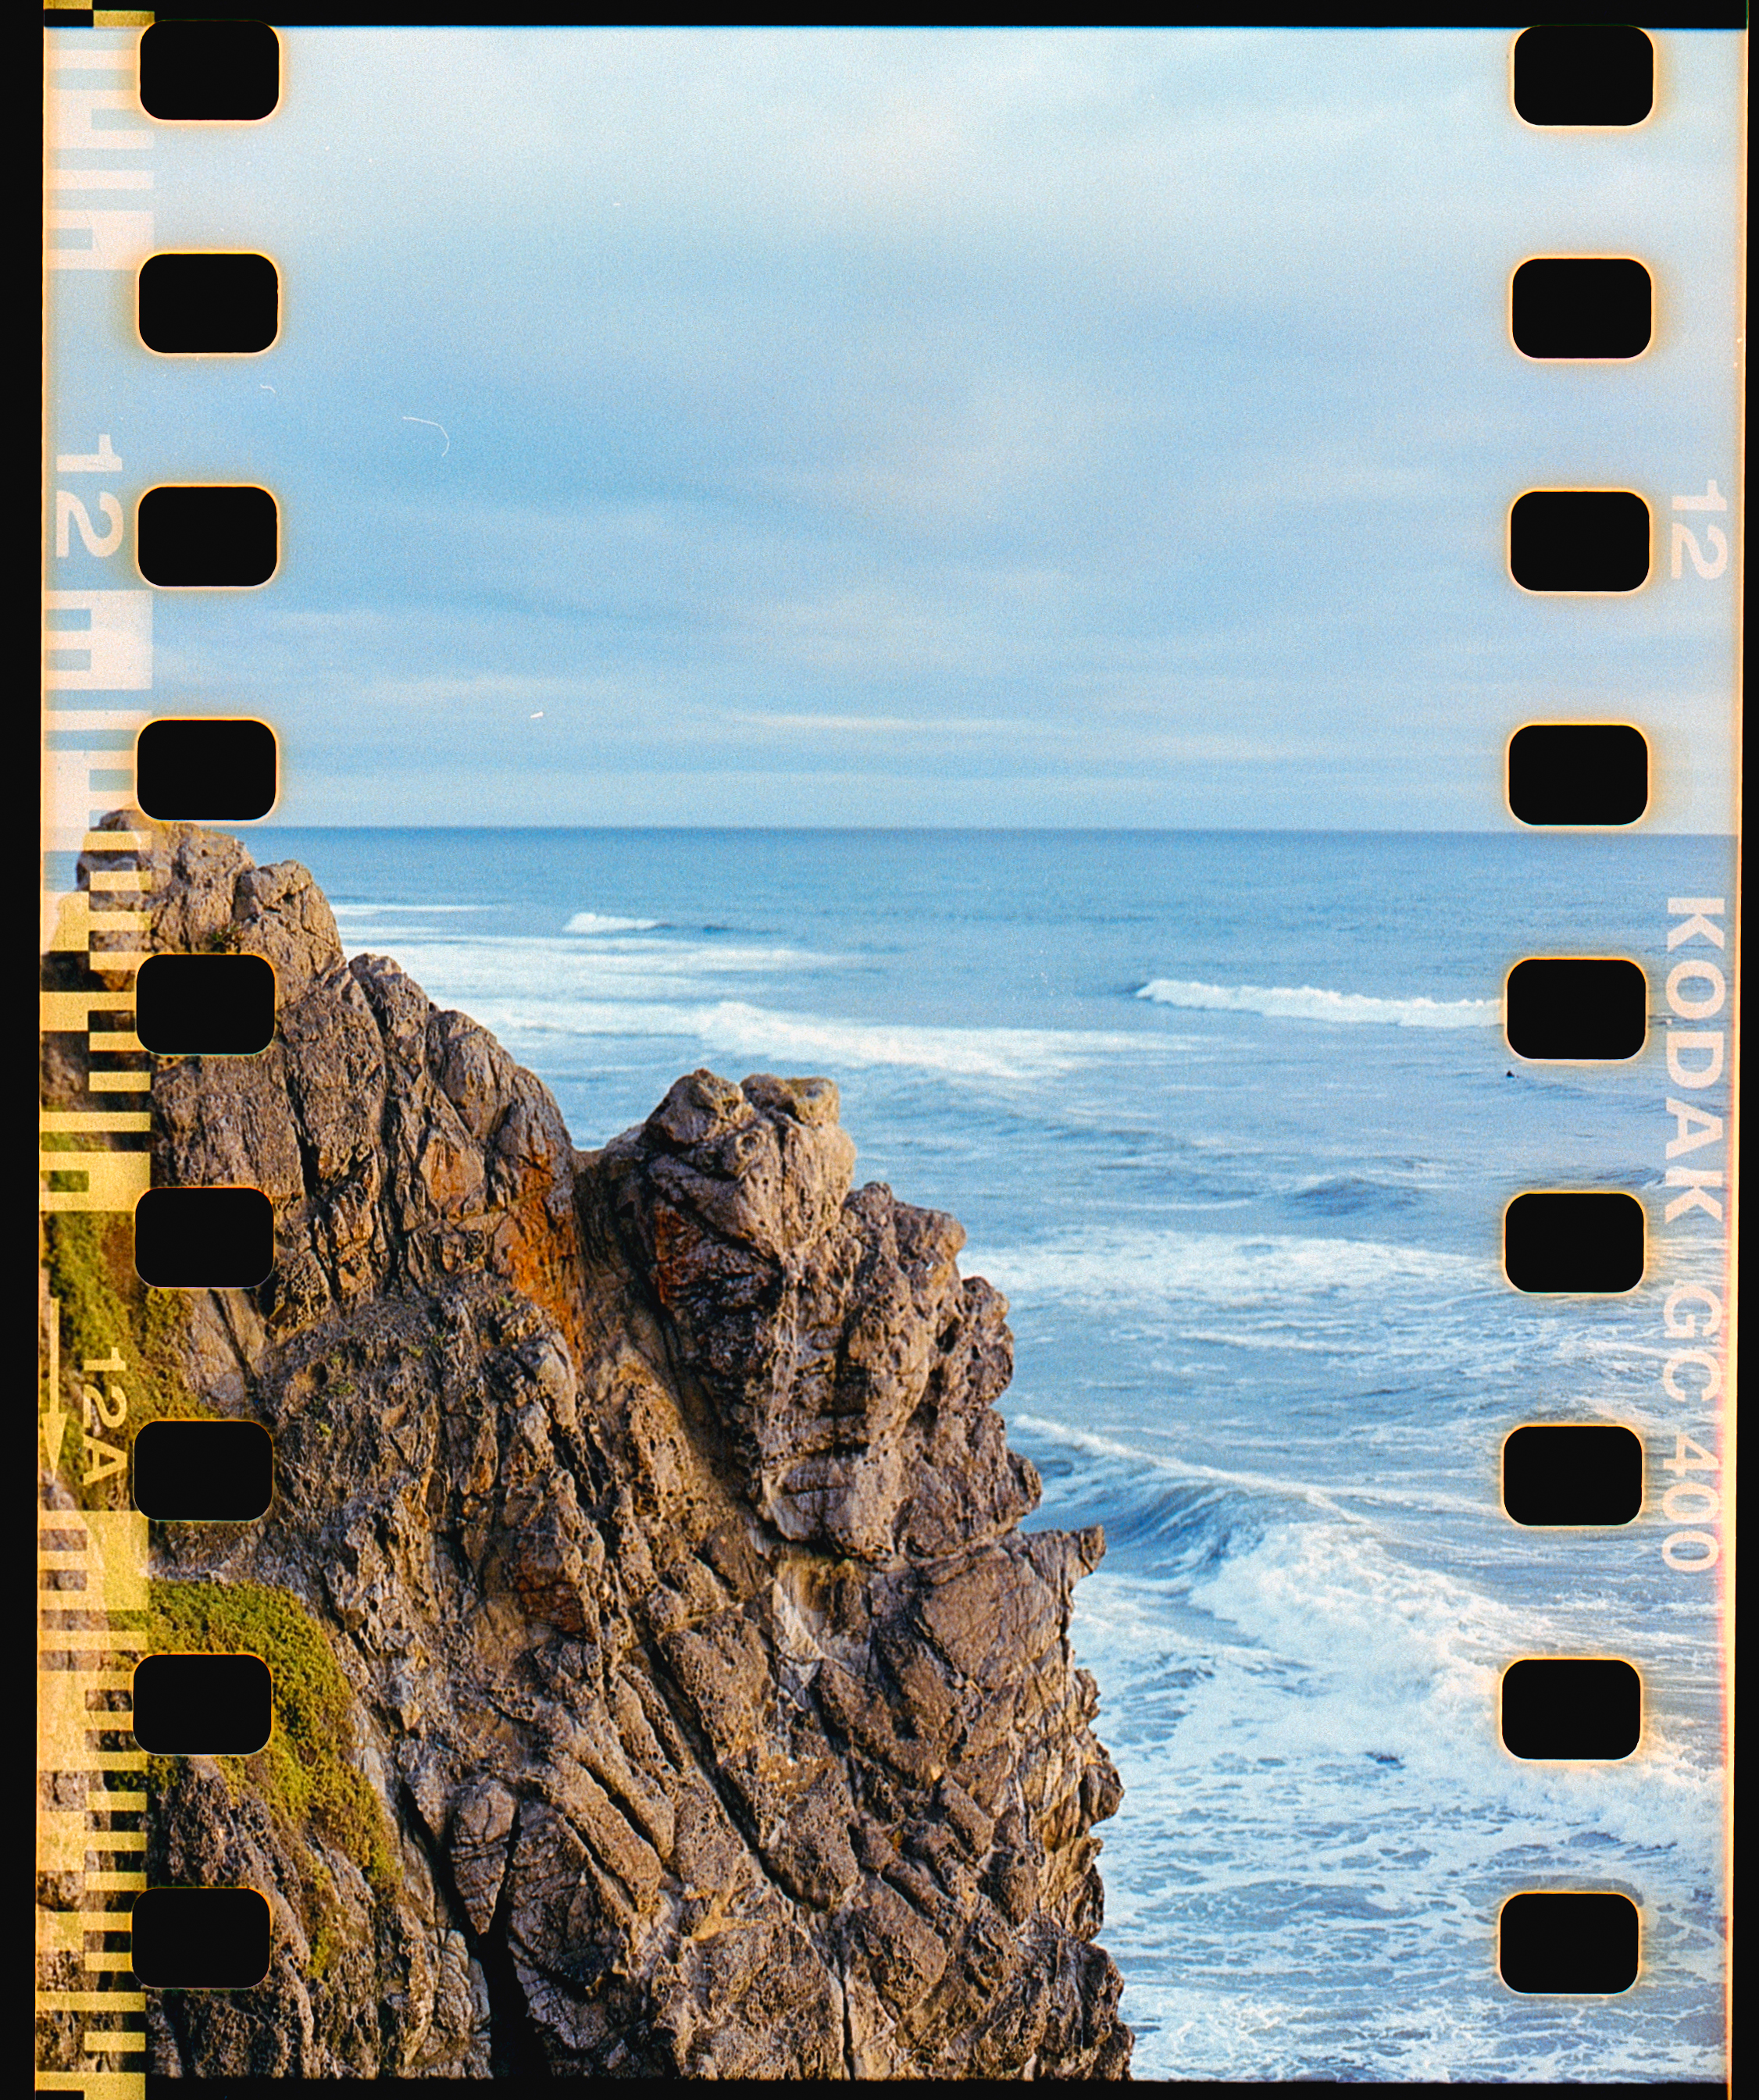 Scanned using an Epson V600
While I wouldn’t go so far as to say that the scan is bad, the resolution is lower than I would like. Typically with these sprocket photos I find that the poorer-than-average scan quality is compensated with the added fun of including the sprockets in the exposure.
What if we could do better?
Using the technique that I described in my previous blog post, I busted out my Plustek 8200i (a scanner designed for 35mm film) and took four scans - one of each corner of the image (including the sprockets). This process is a bit finicky and probably not great for your film (since you’re basically jamming it into the sides of the holder), but it yielded the following four scans.
Compiling this together using the image stitching technique developed in my last blog posts yielded the following scan:
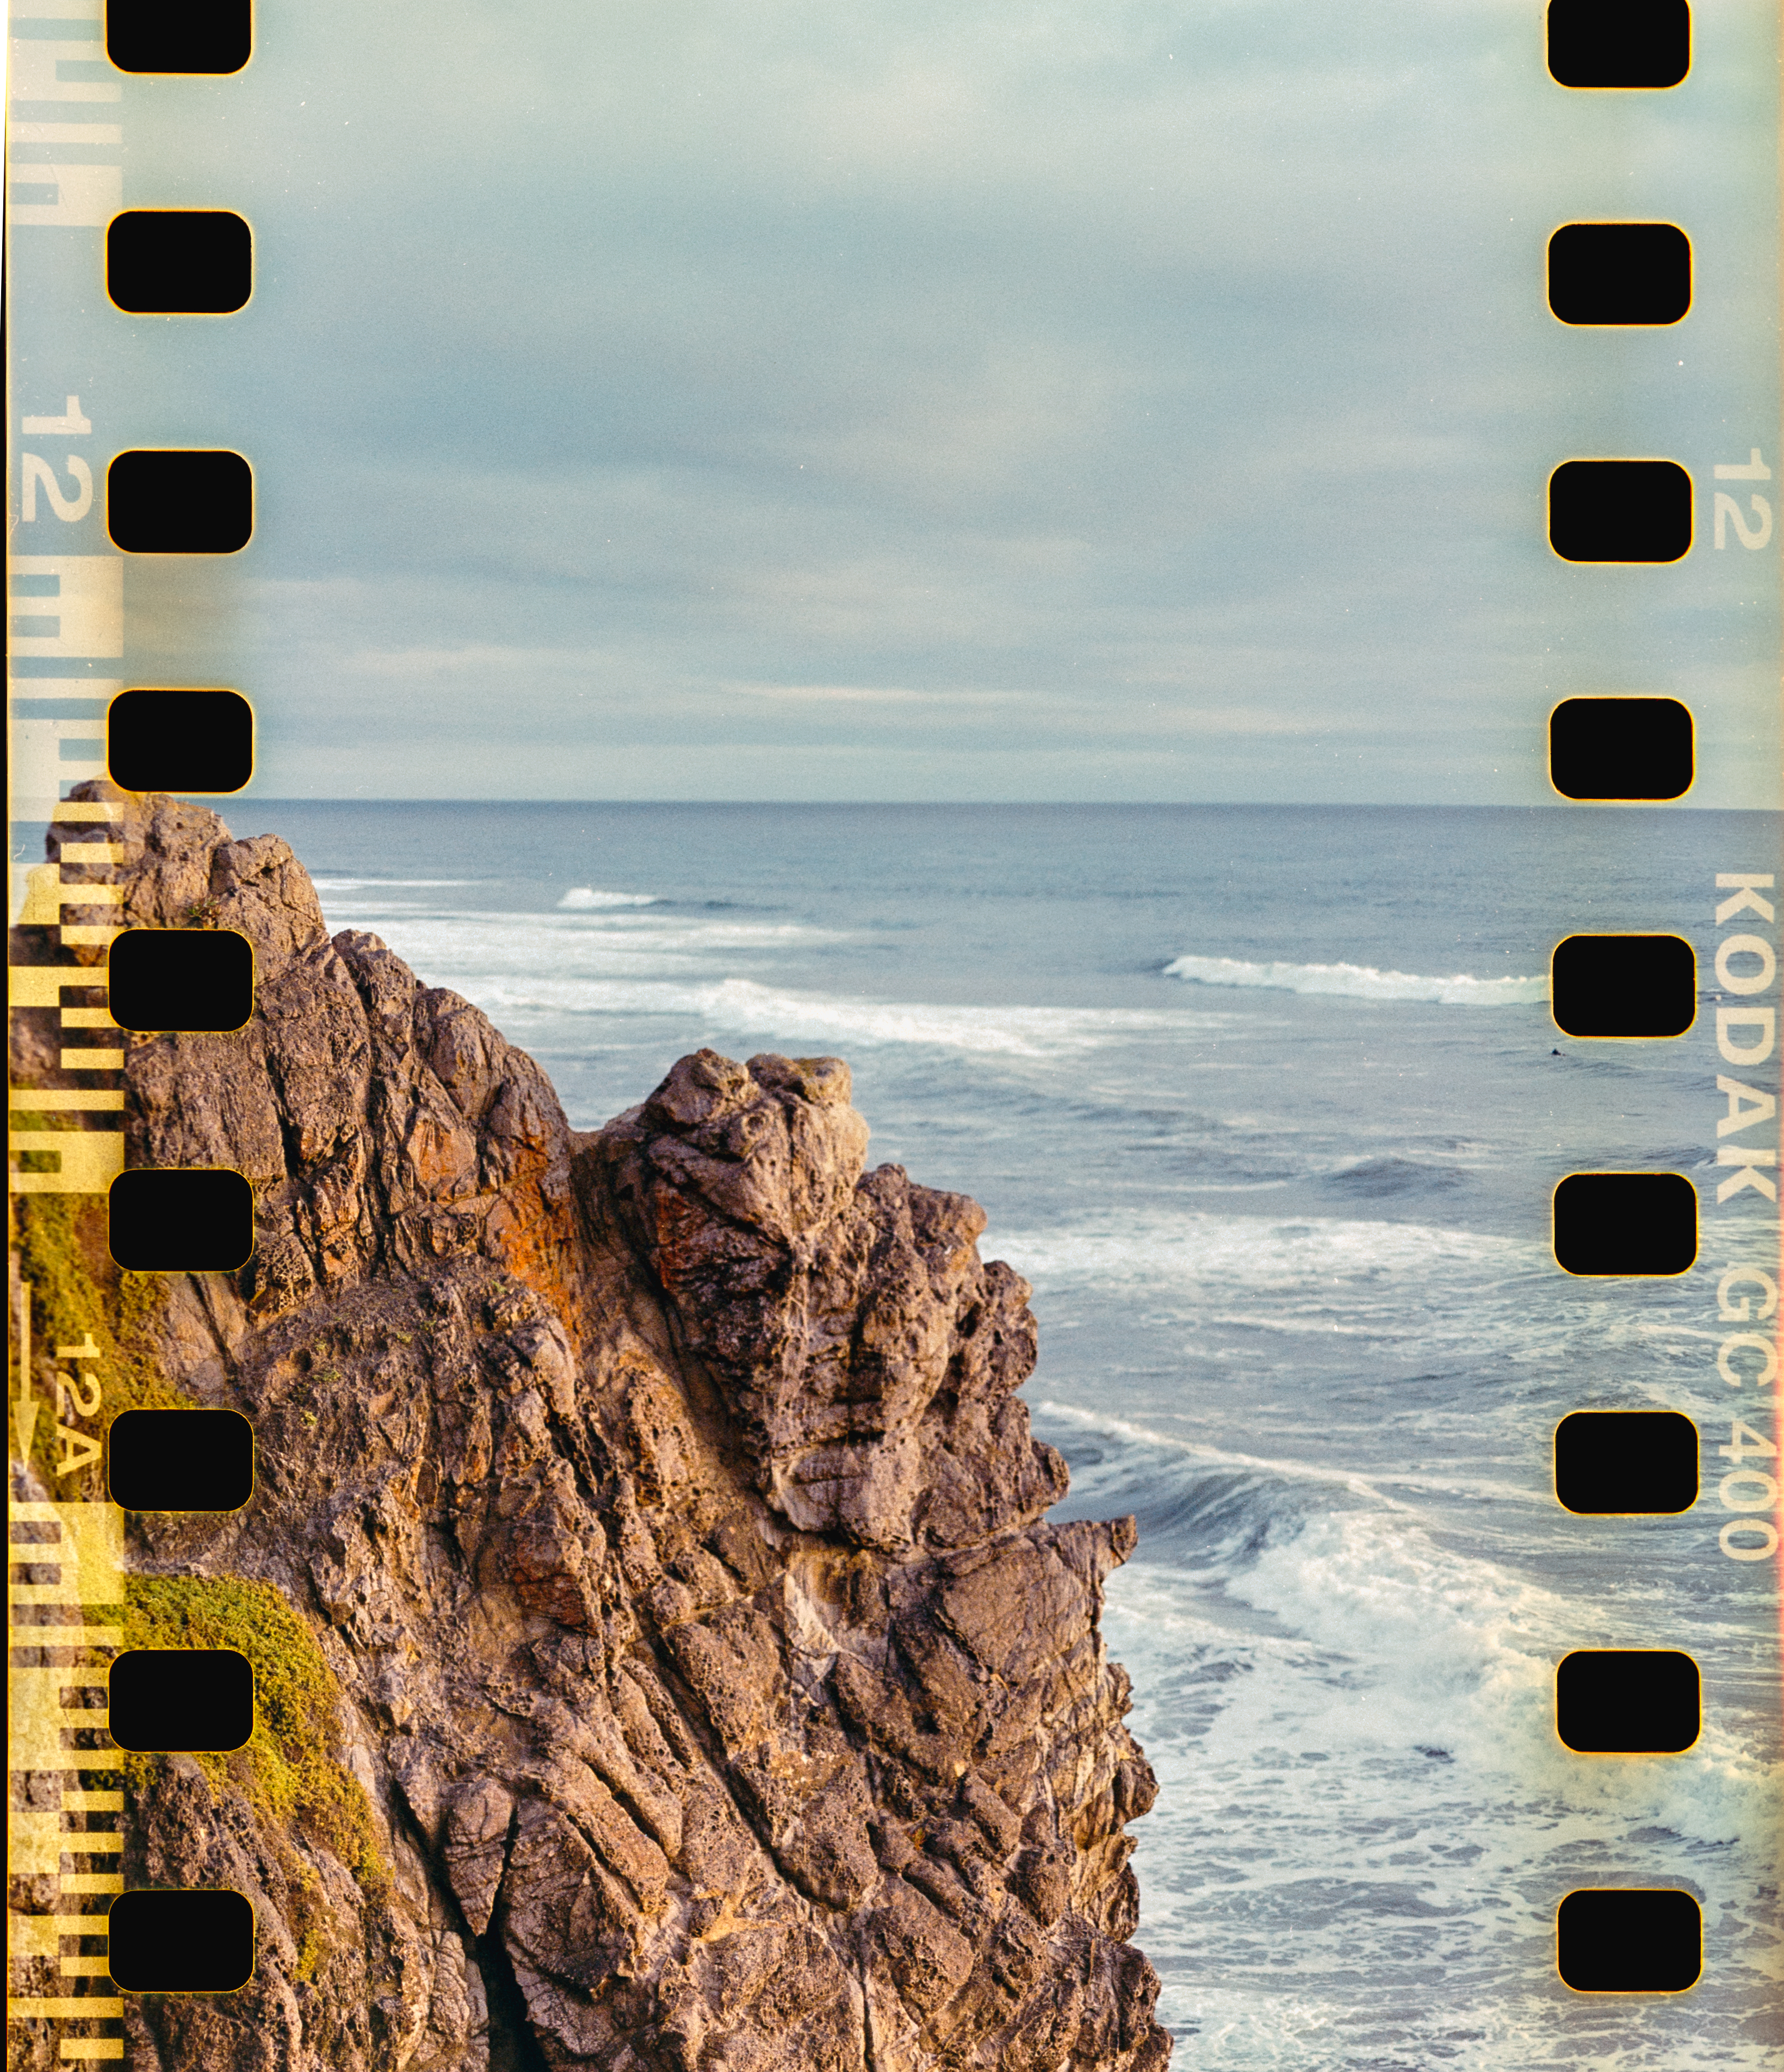 4 scans using a Plustek 8200i, stitched together
You can clearly see a lot more detail in the rock, and the colors come through soooo much better on the Plustek scanner. The difference can be difficult to see side-by-side since the resolution is lost at smaller sizes, but it gives you a better idea of the comparison
 Epson V600 (left), Plustek 8200i (right)
Development notes
For many many months I was plagued by the dirtiest scans known to mankind. Apparently I have one of the dustiest apartments ever created, and honestly it was getting very discouraging developing film at home because I couldn’t get any good scans out of my work.
However, I recently started using Kodak’s Photo Flo as a final rinse and I couldn’t be happier. It’s an anti-static layer which dries on the film and it totally eliminates all dust from your negatives. Go pick some up!